This news segment is fully dedicated to put a designer in the spotlight. We've asked them about themselves, their creations, their process and their inspirations. This spotlight is for and by MioArt!
Let's introduce!
Hi, I’m MioArt. I am a 27-year-old student and historian from Norway. I work at a museum part time while I take my last year at Uni to get my dream job as a museum teacher.
When I was young, I played Gosupermodel, but don’t remember the year I joined. Sadly, my old model is no longer with us. I found back to Gosupermodel in February this year when I saw a fellow student play Wardrobe challenge. The nostalgia hit me, and I made a new model. I am not the most active when it comes to writing forums due to my dyslexia but am lurking around there sometimes. I Have always had a passion for art. I am mainly a traditional artist, but I dabble a little bit in digital media. You can find me on insta by the name MioArt_ (even though it has been a while since I posted anything there).
When the design tool got announced, I got inspired to try to draw designs for my model. Many of my designs are inspired by fantasy and games. If you ever look at my designs here at the gosupertools you might find some lore for my inspiration or reasoning for making the design.

My design process depends on what kind of item I am designing and how big the collection is going to be. I categorise my designs in Small: 1-3 items few recolours. Medium 4-9 some recolours but not always maxed out. Large: 10+ will have recolours but not always maxed out. My designs take somewhere between 1-8 weeks to make depending on how big. (I sadly don’t have a lot of time to make many designs due to studies and work).
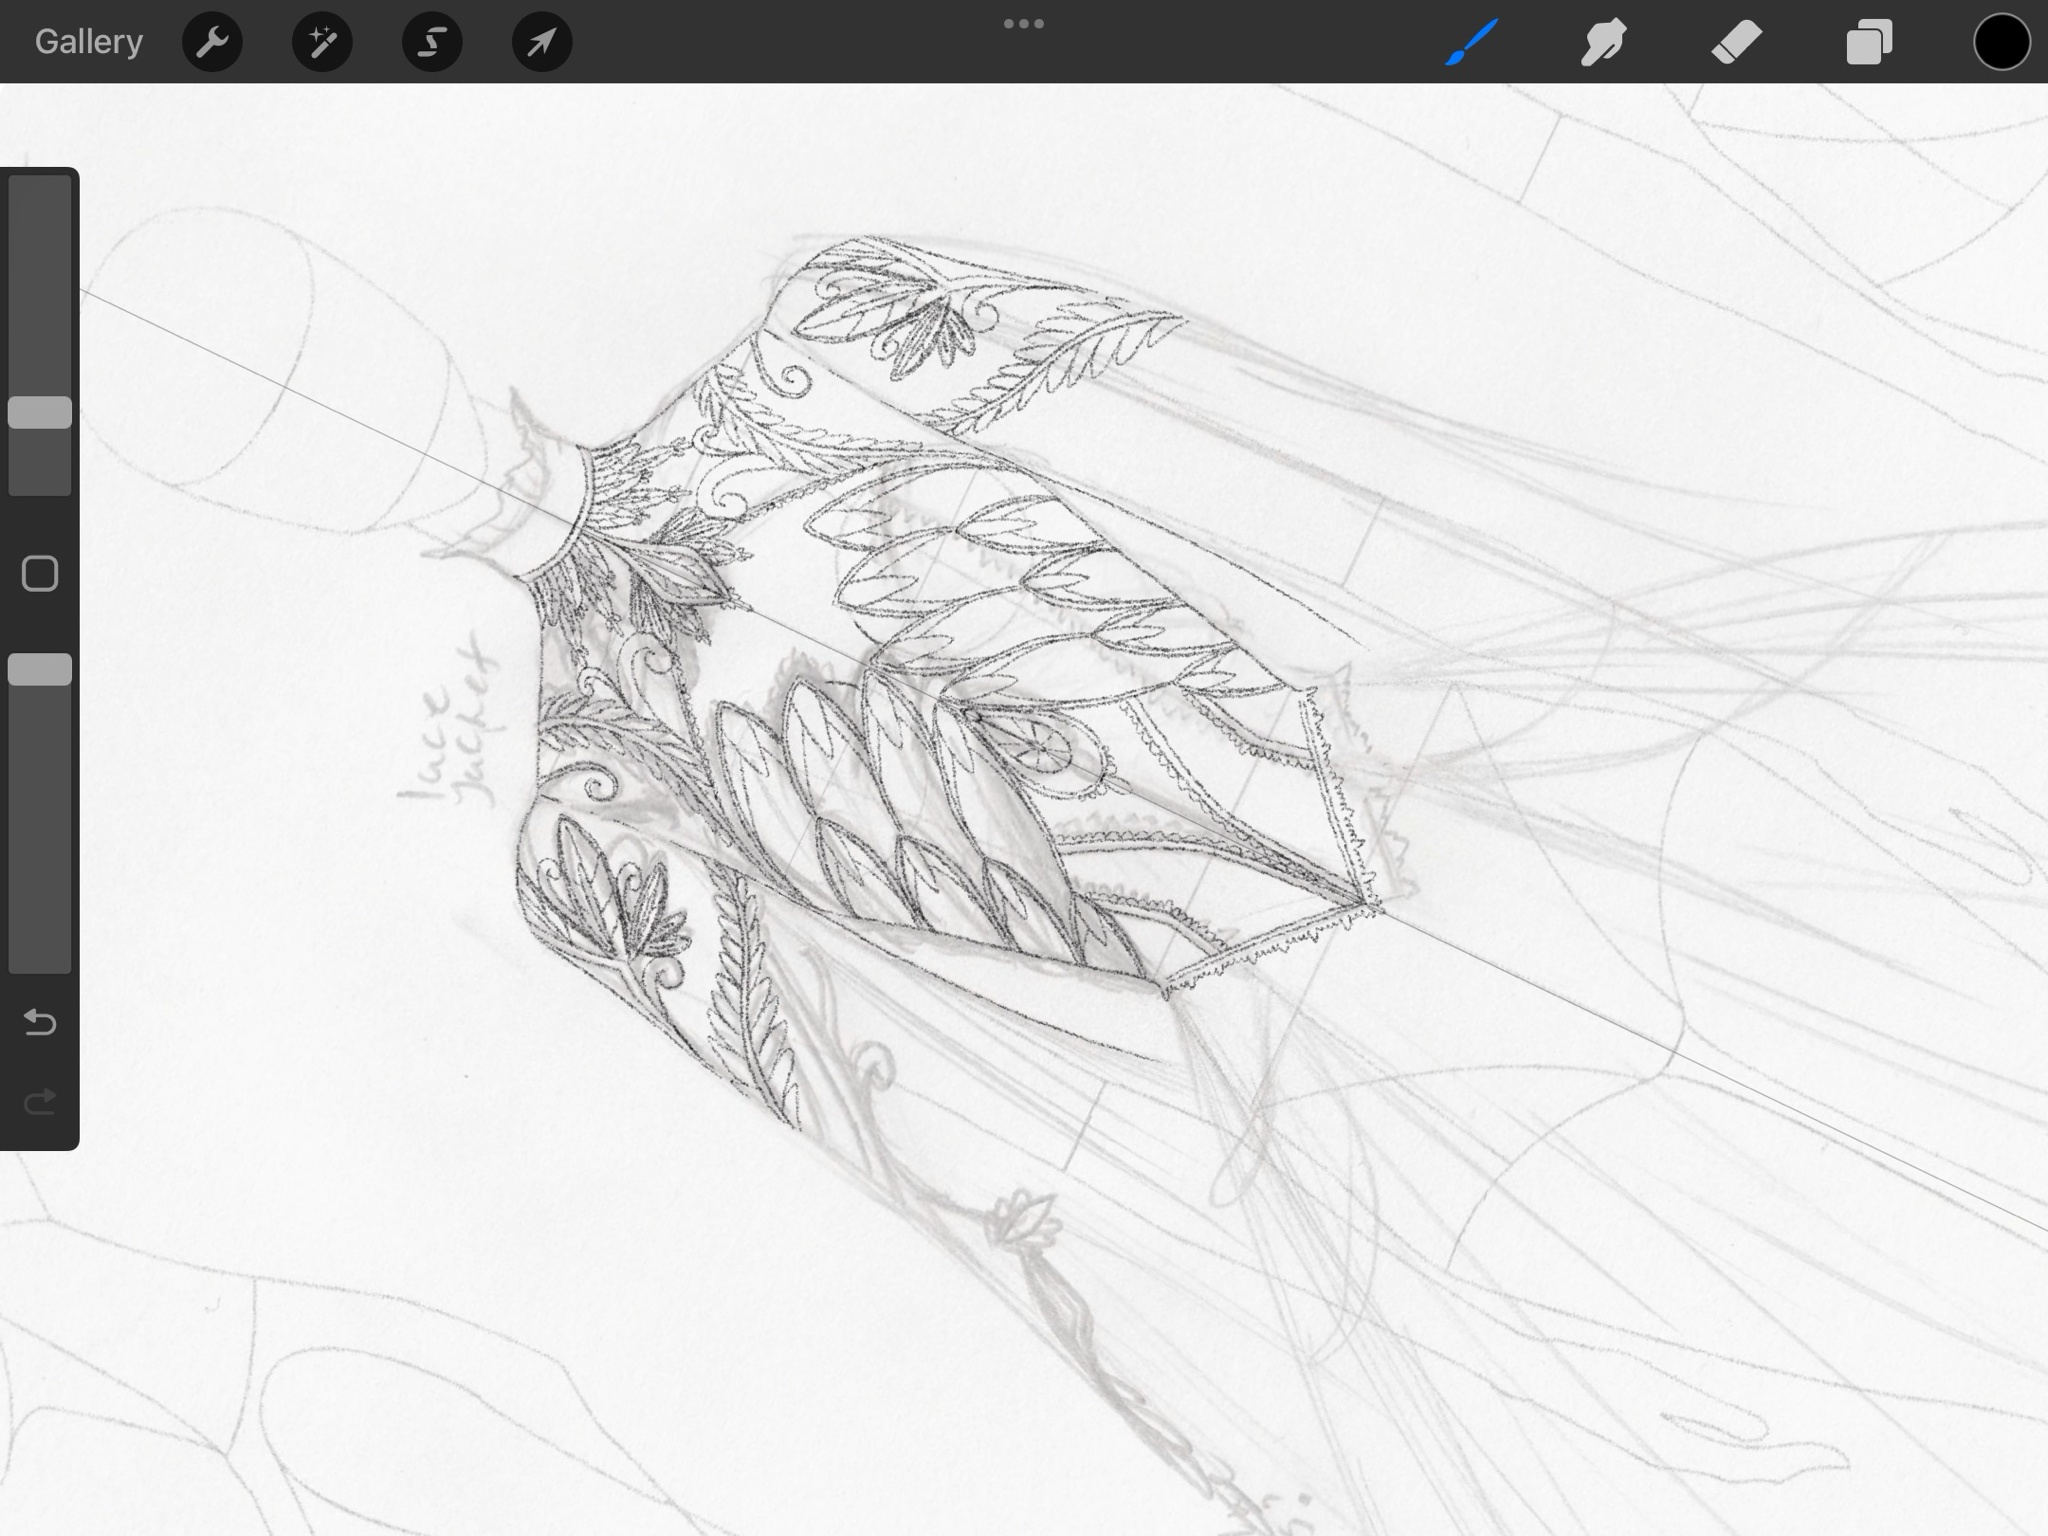
My designs will use a lot of layers. For clothing and items, I will first make a sketch with a pencil brush. After the sketch I clean up the outline. I usually use a black outline at first because it is in my opinion easier to spot stray pixels if you use black, especially if you use a white background on another layer underneath. The next step is to colour in the flats. I like in this step to colour the base layer with the colours I am going to use. If my design has multiple colours on one item, then ill colour each colour on separate layers. This is because it is easier recolour them if they are separated. this will be the same for the line art (if you colour the line art or base on one layer with to different colours you will have a hard time recolour, separating them gives you more option and control). I make sure I have every pixel fully saturated for the line art and base layer and not transparent from the beginning. You can always make it transparent later. I remove all pixels that are floating around or that are close to the line art, so the design doesn’t get flagged for those pesky stray pixels. When I have cleaned up any pesky stray pixels, I set the outline layers and flat layers on alpha lock. This will lock the layers so you can’t colour outside of the pixels you have. When you use alpha lock, you can change the colours of the linework and flat colour layer without needing to worry about ruining the clean layers.
For shading I like to use new layers again. But on that layer, you use the clipping mask tool over the flat colour layer. This will prevent you from colouring outside of the designated aria. I usually have one layer for shading, and one for highlights. If I’m not happy with the result of the shading or highlights, and unsure how to fix it I will make a new layer on top of the others, hide the layers I’m not sure of than try to shade it again. That way I don’t need to be scared to ruin anything, because I can always go back to that layer. The best tips I have for understanding how to shade different type of items and texture is looking up references. there is no shame in using it as help to aid you in making the items look better. And to understand how the textures and shines are shaded.
With the huge number of layers, I try to organise and group the layers for each item together and rename the groups. This way you will have an easier time to keep track of the items. Especially if you’re going to recolour. When I recolour items, I will first copy all the layers for the item. So ill have the OG layers just in case I need them later. When recolouring it is easiest to get the same colour and hue on the layers of you merge the shadow, highlight layers, flat colour and line art layers. Just remember that different colours still need to be separated. This is why it is also better to line the details separately from the main item. Then you copy these items into how many colours you want. For recolours in procreate I the Hue, Saturation, Brightness tool or the Gradient map depending on how dramatic I want to change the colours. But the last tool I have used the most lately especially to recolour the ombre skirt for luna in light pink and blue. For that I used the brush tool in the Gradient map to adjust parts of the skirt to the colours I wanted.
For backgrounds I tend to colour it like a painting. But some of you might know that I have made a step by step on how I made my ocean background in a Gosupermodel magazine. So, if you are curious on my progress check it out here! I am planning to make more in the future but will not have a set schedule for when I release them.
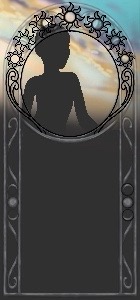
For inspiration I have used some of the designs I have made a long time ago for my art. I have always loved to create characters and design outfits for them. The inspirations for my designs can come from anywhere. But if I make it for a character, I design it after their personality and the mood I want. Many of the planed designs I have are designs made for OC’s or redesigns of cartoon/ anime characters. The first design I made here was and outfit for my OC Victor/Victoria. A gender-neutral character that loves to dress up for any occasion. They are a diva. The dress is inspired by peacocks. Hence the teal gold and dark blue details. This was also my first ever pixel art design. If you have ever seen my sketches, you will see that I love details. And trust me when I say that it would be flowing in even more details if I could make the pixels smaller. Luna is also another design inspired by redesign I did for human Luna from mlp as a regal goddess in her armour. I changed some details like the skirt having stars and an ombre effect. I also made the design darker. This design also features four moon phases. The OG idea was to have all eight phases, but it was hard to see the minor change, so I kept it as five.
My other designs have usually been made either to test something or because I wanted a specific item in game. The ocean design, I made it purely to test if I could make a background using a painting approach. The original idea was to make the background with everything as one item. Then I liked that rock so much I chose to make it its own item. (I also forgot to check where the model was standing so the rock ended up in a strange spot when placing the model over). Same goes for the halos that were made because I wanted a double halo but had so much fun playing around with the light brush that I made a collection. The bunny outfit started as an idea because I wanted bunny ears that looked like ribbons, and I wanted to practice shading shiny latex type materials. My latest design tomb raider is the only design I have made that was not purely for myself. This was started after I saw a forum about someone wanting tomb raider/ adventurer explorer type items. I took the challenge for fun to see where it would take me.
For designing the biggest tip, I can come with is make sure your line art and base colour layers are clean than use clipping masks on other layers to shade. This way you only need to clean up the line art and base layers. It will make your life so much easier, and if your cleanup is good, you won’t get flagged for pesky pixels that floats around. And as I have stated be strategic on how you plan your colours. If you have planned to have example a jacket in a colour that is not gold, with a gold trim, then keep the jacket colour and gold colours on separate layers. If not, you must manually separate them and make the recolour phase a pain.
I am so proud of the designs I have made so far. I am happy that I have bean able to design for this community. Looking back on my different collections I will say that some of my favourite items that I am the proudest of are:
The top and jacket for the peacock dress: The rock from the ocean background. The background, armour, frame and weapon from the luna design. The bodysuit from the bunny design. The entire halo collection (don’t make me pick one from this). And the shorts and bags from the tomb rider design. All of these items have been items I have used repeatedly in my looks.
For what the future holds I have 2 collections I am working on. The first is a Christmas nutcracker theme for Christmas which should be my next collection hopefully done for the first week of December (crossing my fingers I can finish it in time, no promises). And the other might be a Celestia design… But i can not say for certain when this will get done. I am going to finish the nutcracker before i continue on Celestia. so most likely a design for 2026.
A few last words
To anyone that ever want to design for gosupermodel. You can do it. Practice makes perfect. There is no shame in starting over or take a few steps back. Use references to help you understand shading, and to get inspiration. I believe everyone can draw if you put in the effort!
A thx to all who have bought my designs. I honestly did not think they would be this popular. I love to see you use the items in so many creative ways. Thx to all my friends who gives me feedback and support for the designs I show you<3 you all give me design boost that makes me want to continue to make designs for this lovely community.
And a special thx to the GoSuperTools team for wanting me to and let me share my Design journey. I appreciate this website so much. Thx for making it possible to see all the beautiful items of Gosupermodel, making it easier for us all to find and try on all the beautiful items gosupermodel have to offer. And of course, for the support you have given the design community with the highlights and the hype for the community store and for the older designers<3
MioArt's: goSupermodel profile, goSupertools profile, design page
Thank you MioArt! For this beautiful insight in your design process! The goSupertools team appreciates the time and effort you've put into the interview. We can't wait to see what you'll create in the future <3
Do you want to be featured in one of these spotlights? Contact one of the goSupertools staff members and we'll have a chat.